The first time I ate zereshk polow, I was at a sleepover at Memory Box Mom‘s house. We were 13 and just planting the seeds of our now 24 year old relationship (yay! our friendship can legally drink and soon will be able to rent a car). I remember Sam’s explanation of the dish and the labor-intensive process necessary to prepare it. She portioned out an enormous, vibrant, sauced-to-the-nines chicken breast and a heaping serving of barberry-infused rice, tinted tantalizingly golden by a healthy infusion of saffron, onto my plate. I took in the colors and thought of sunsets – the kind of Chicago sunsets that Sam and I used to marvel over on her front steps while eating watermelon and talking about boys. It was all at once amber and ocher, vermilion and russet – a whole spectrum of warm colors.
Real talk, it was a lovely plate of food. I really enjoyed looking at it. And then I ate it.
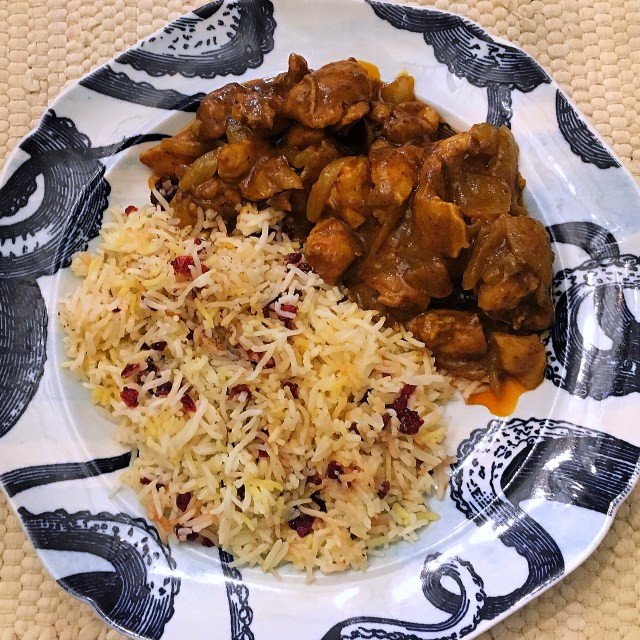
Heaven, I’m telling you, tastes like this: the shock of the tart barberries, the buttery warmth of the rice with that suggestion of flowers and honey that saffron imparts, and the savory chicken rich with spices and lifted by a hint of lemon.
In my memory, there was a fresh herb salad, hunks of creamy feta, cucumber seasoned with mint, and a massive bowl of pomegranate arils that still impresses me to this day (Sam’s dad is an absolute genius of pomegranate preparation; he can perfectly seed a dozen in the time it takes me to do one). Afterwards, we drank steaming hot Persian tea with a hard sugar cubes held between our teeth and dainty nan-e nokhodchi in our hands for dunking.
Now, I have a feeling that my brain may have combined several nights into one, but no matter – the food was amazing. I fell in love with Persian food that night.
Needless to say, that meal was wonderful – memorably so – as were so many of the others meals that I had the pleasure of enjoying at Sam’s house. Her mom is a talented cook, and I hope to one day be able to produce food just half as delicious.

Full disclosure: this version of zereshk polow is not as stun-your-tastebuds gorgeous as the time-consuming, labor-intensive traditional version that Sam’s mom served us that night. This is the easy, make-it-on-a-Tuesday night version that is much quicker to prepare while retaining most of the super-yummy soul of the dish. What you lose here is the nuanced uber-perfection of the rice – and the crunchy tadiq, which is one of the best parts of the traditional dish but which I don’t know how to shortcut. Making Persian rice is a delicate art, one that can’t really be rushed. Plenty has been written online about the fine nuances of zereshk polow preparation in much better blogs, so I won’t even attempt to outline those steps here. Still, I totally urge you to try making the full-fledged version someday when you’ve got the time and patience – or find a great Persian restaurant (or make some awesome new Persian friends). Although the rice in this version is still really tasty, everyone should try the real deal at least once.
Me? – I’ve made the polow following the proper steps before, but I don’t always have the time or energy, so this ends of being my go-to more often than not. I can actually thank Sam for this recipe on many levels. Her mom’s recipe forms the base for the version below, although I’ve made some tweaks over time – largely due to the fact that I lost the actual written recipe years ago and have been working off my memory and palate ever since. Additionally, Sam is the one who gave me permission to let go and just make a quicker, easier take on the rice – which in turn freed my mind to accept making this more often, a change for which my husband is still grateful.
Ok, chatting. Let’s get down to business….
Ingredients:
General items used in the entire dish:
- Saffron Water – you’ll use this for both the rice and the chicken
-
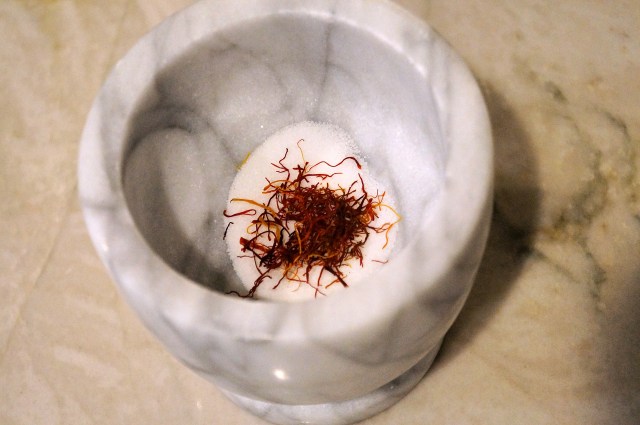
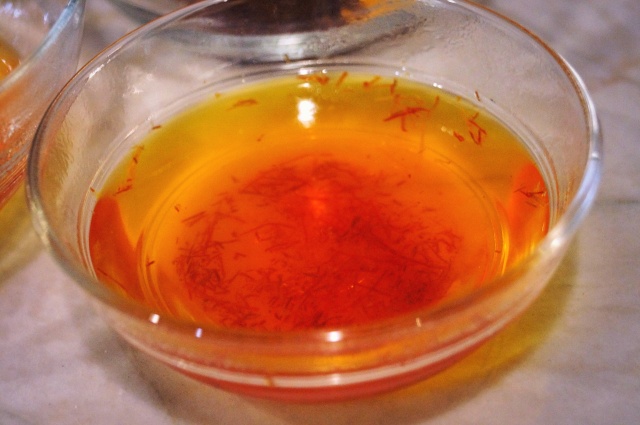
- To prepare, take 1 large pinch saffron (approx 1/2 tsp) and grind it in a mortar and pestle with 1 tsp sugar and a pinch of salt. Don’t worry about getting the saffron completely ground down – you just want to break it up a bit, which the sugar-salt mixture helps you accomplish (I like to use both because I think it works better than just sugar or salt). Mix with 1/4 cup just-boiled water and let it stand for a few minutes (at least) before using.
For the rice:
-
2 cups long grain basmati rice
-
3 cups water
-
1 tbsp salted butter
-
1 tbsp olive oil
-
2 tbsp Saffron Water
For the zereshk (barberries):
-
1 cup zereshk (barberries), cleaned (pick out any stems or stones you might find) and soaked in cold water for 20-30 min
-
- Zereshk (barberries) can be hard to find at a physical store unless you live somewhere that has a Persian grocer. The good news is that you can buy them on Amazon. This is the brand I usually buy.
-
3 tbsp salted butter
-
4 tbsp saffron water
-
1 tbsp sugar
-
1/4 tsp salt
For the saffron morgh (chicken):
-
Approx. 3.5 lbs boneless, skinless chicken thighs, cut into roughly 1 inch pieces
-
- This dish is usually made with whole, bone-in pieces of chicken. It’s gorgeous that way – very tasty – but I’m partial to the ease of the boneless thighs and the juiciness of all dark meat. I tend to make my chicken curry this way as well, for the same reasons. If you want to use whole pieces of bone-in chicken or white meat or both, it will work just as well, but you may have to adjust the cooking time a bit to ensure the chicken cooks fully.
-
1 large yellow onion, sliced
-
4 cloves garlic, minced
-
3 tbsp tomato paste
-
4 tbsp canola oil
-
juice of half a lemon
- 6 tbsp Saffron Water
-
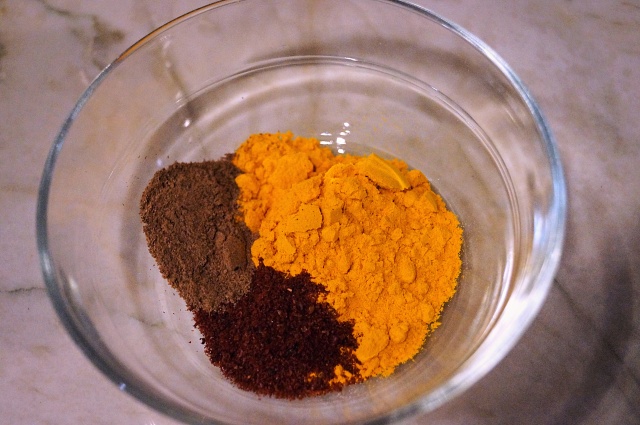
2 tbsp turmeric
-
1.5 tsp sumac
-
- Middle Eastern stores and some grocery stores that sell more exotic items will have sumac. If not, you can also buy it on Amazon. Pro-tip: You want to select the sumac that has a deep red color. Don’t buy the stuff that looks black or dark brown.
-
1.5 tsp Advieh
-
- This is another spice that you’ll likely need to buy on Amazon if you don’t have a Persian grocery store near you. Since it’s a spice blend, you can also make it. Here’s a great recipe from a wonderful food blog, My Persian Kitchen.
-
2 tsp salt – plus to taste
-
1 tsp Black pepper – plus to taste
-
Approx. 1/4 cup water

Directions:
To prepare the rice base:
To make the rice ready for cooking, wash it very thoroughly with cold water. I like to soak it in water with some salt for ten minutes or so before rinsing, although this isn’t strictly necessary (and if you have a lower quality basmati rice, it will actually make the rice break a bit when you cook it).
As I mentioned earlier, the process of making the rice for zereshk polow can be really labor intensive, so what I’m sharing here is basically a shortcut. The skinny? You’re just making basic rice in the normal method. Add the 1 tbsp of olive oil and 1 tbsp of butter to a pot. Melt the butter in the olive oil over medium heat. Once melted, add 3 cups of water and 2 tbsp Saffron Water and bring to a boil. When the liquid is boiling, add the rice. Bring the water back to a boil, put the lid on the pot, and reduce the heat to low and cook for 20 minutes. After the full 20 minutes has passed, check the rice to ensure it is cooked properly. Remove from heat and set aside.
To prepare the zereshk (barberries):
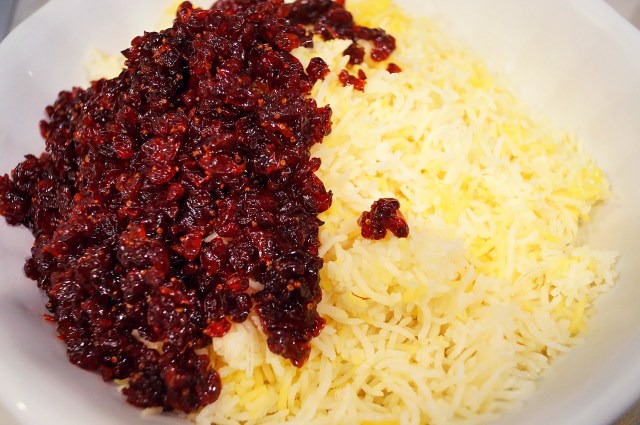
Melt 3 tbsp butter in a nonstick pan over medium-high heat. Once the butter is fully melted, add the 1 cup zereshk and 4 tbsp saffron water. Sprinkle with 1 tbsp sugar and 1/4 tsp salt. Saute until the zereshk are plump and the Saffron Butter has infused the berries – probably 2 or 3 minutes. Remove from heat.
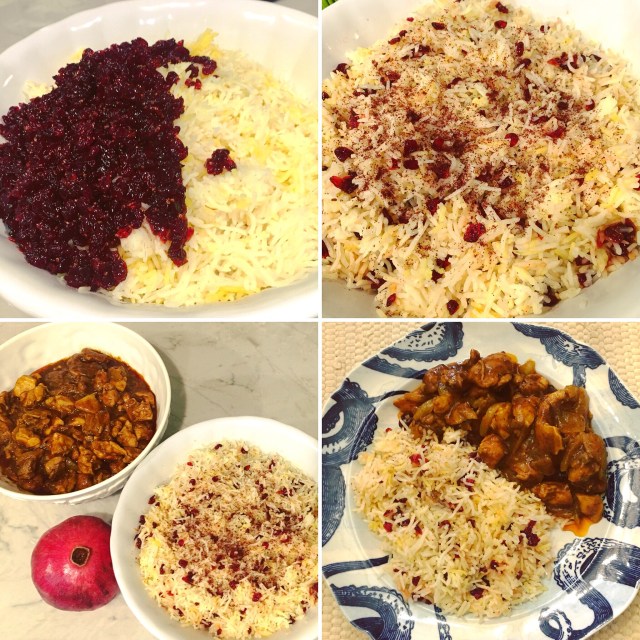
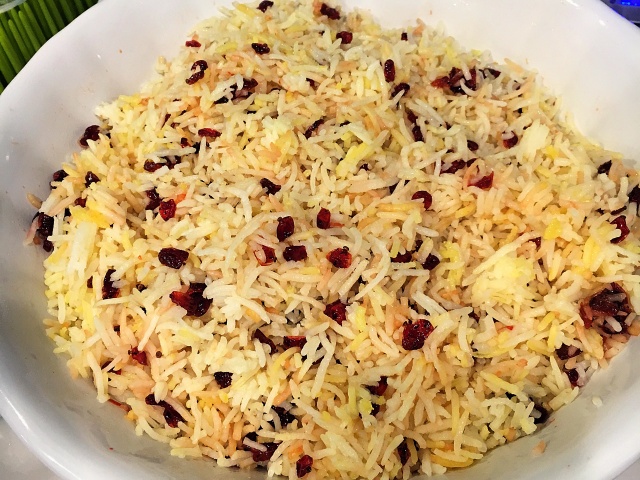
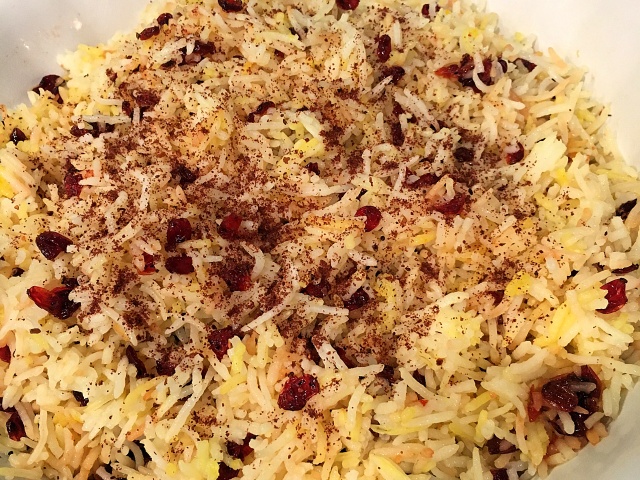
To combine the final zereshk polow (barberry rice):
Stir the cooked zereshk into the cooked rice. If you have any remaining saffron water, go ahead and add it. Sprinkle with sumac and serve hot.
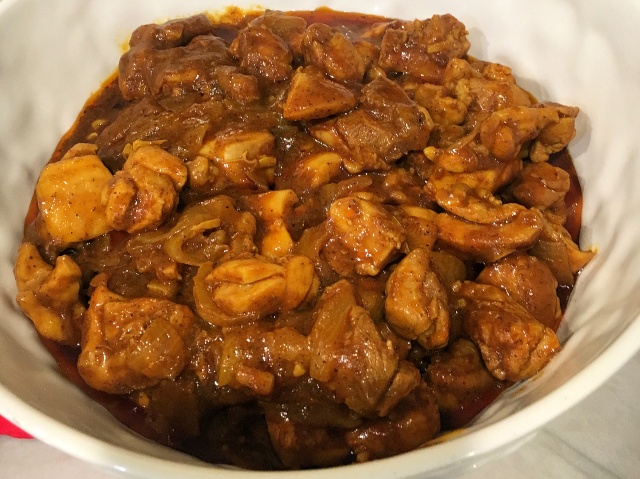
To prepare the saffron morgh (chicken):
Heat 4 tbsp Canola oil over medium heat in a large nonstick frying pan. Add the onions and saute a few minutes to soften. Then add the garlic and saute for another few minutes until the onions are translucent.
Turn up the heat to medium-high. Push the onions and garlic to the sides of the pan and add the chicken (moving aside the onion mixture allows the chicken to directly heat the heat). Turn the chicken a few times to sear some of the pieces (you won’t be able to get them all, and that’s ok), and then mix in the onions and garlic. Add the 3 tbsp tomato paste, 6 tbsp Saffron Water, 2 tbsp turmeric, 1.5 tsp sumac, 1.5 tsp Advieh, salt and pepper and combine fully. Saute for several minutes, turning, until the chicken begins to look evenly cooked on the outside. Add the 1/4 cup water and lemon juice, turn down the heat to medium, and allow the chicken to cook for about twenty minutes, turning every few minutes. Keep an eye on the stove. Every appliance is difference, and you may need to turn down your heat a bit.
Also, a word of warning: turmeric and saffron are like staining machines. They’ll stain your hands, your sink, your clothes, your counters. Be prepared with paper towels or a rag and cleanser nearby, to wipe up any spills as they happen. As I’m clumsy as the day is long, I also take precautions by wearing something that I don’t care about staining.
After 20 minutes, check several pieces of chicken from different parts of the pan to ensure they are cooked through. Remove from the heat and serve with the zereshk polow. Yum!
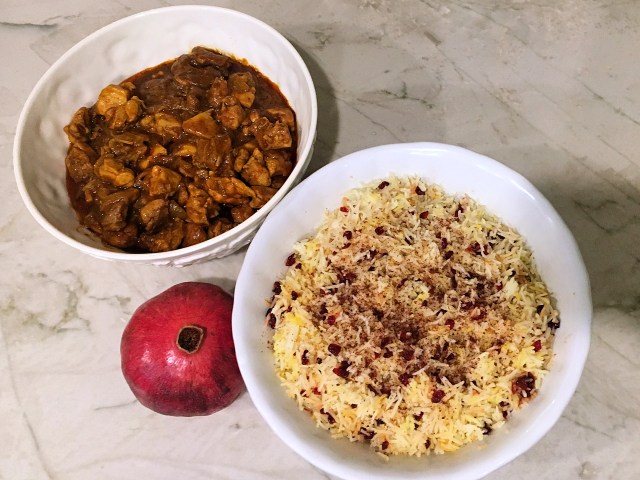
Happy dining,